Getting Started with Arduino
Everything you wanted to know, and some you didn't.
Presented By:
Jacob Bates
About Me
- BS in Computer Engineering from UCF
- Background in Web Development
- Working at the Center for Distributed Learning at UCF as Techrangers Team Lead
What is Arduino?
- Small, cheap, low-power computer
- Interact with and react to the world
Input
- Can receive/record input through sensors
- Temperature
- Light
- Humidity
- Air Pressure
- Distance
- Movement
-
GPS
Output
- Display Things
- Signs
- LED Arrays
- Control things
- Lights
- Motors
- Relays
Buying an Arduino
Before you buy:
Have a project in mind.
Arduino Vs. Compatibles
Official Arduinos are made by Arduino.cc in Italy.
Guaranteed to work with the Arduino software.
Arduino Vs. Compatibles
"Arduino-Compatible" boards work with the Arduino software, but might need special drivers or have other requirements. (Most are fine, though.)
Some Manufacturers:
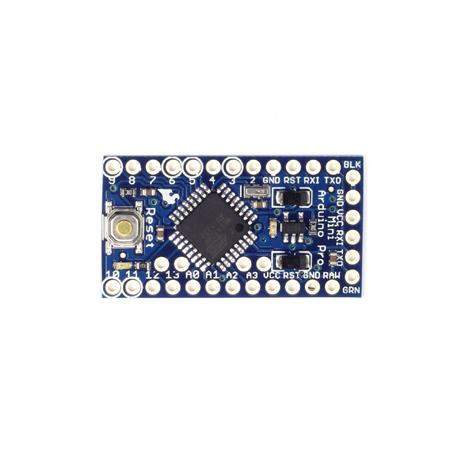
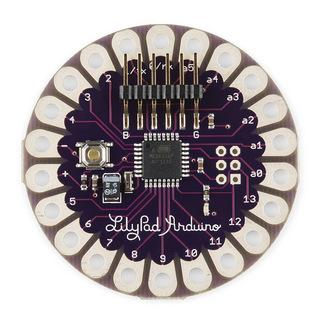
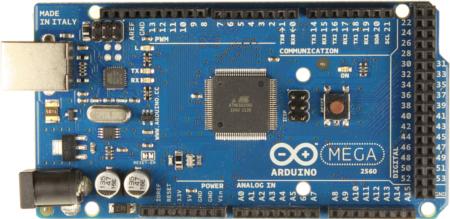
Formats

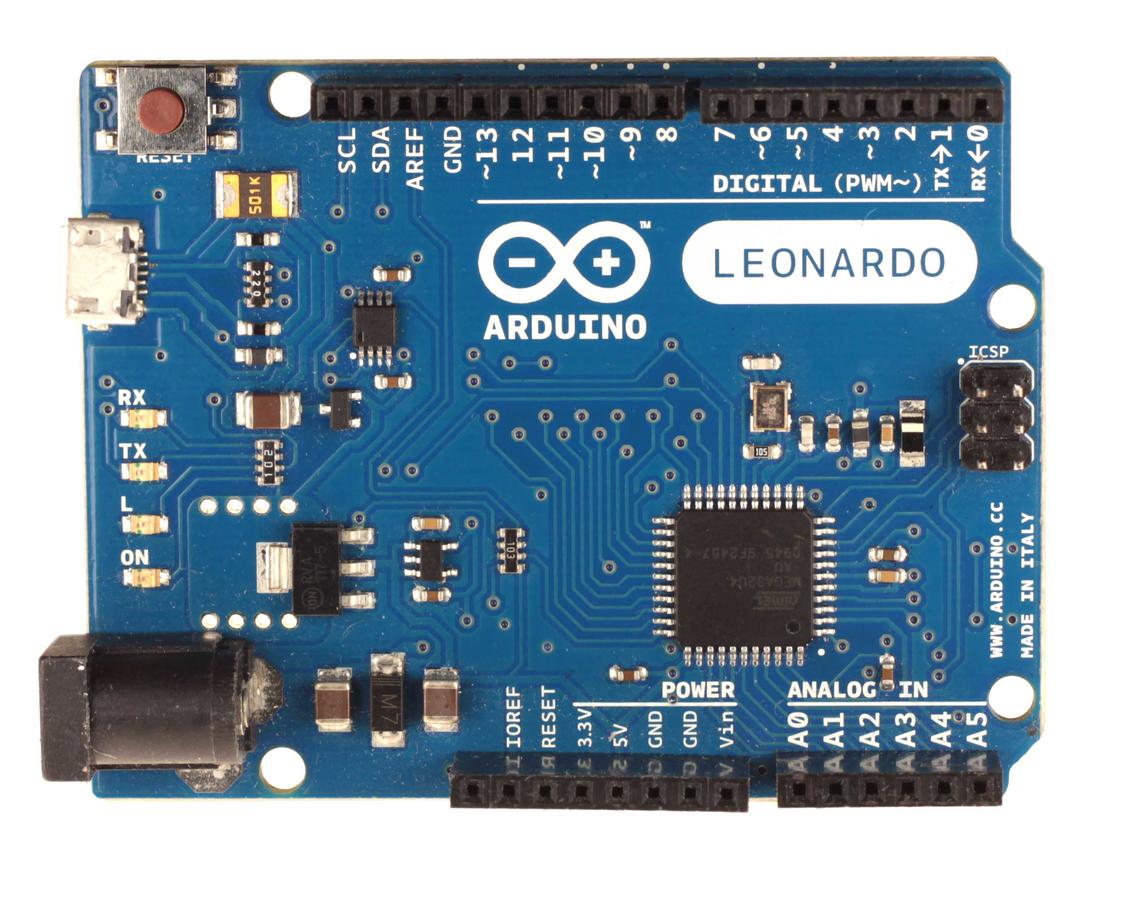
Arduino Leonardo
- Latest and Greatest
- Uses microUSB instead of USB B
- $20-25
Supplemental Equipment
Micro USB Cable
Probably the same as your cell phone charger.
Starter Kit
Power Adapter
- Optional
- Only needed when away from a computer
-
9-12V, 250mA or more
- 2.1mm Jack, Positive Center
-
http://goo.gl/8N2pD ($8)
It Arrived! What Now?
- Install software
- Connect the Arduino
- Run the software
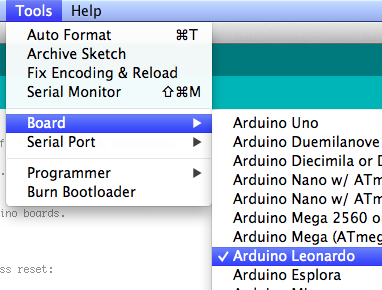
- Select the correct board (Tools -> Board)
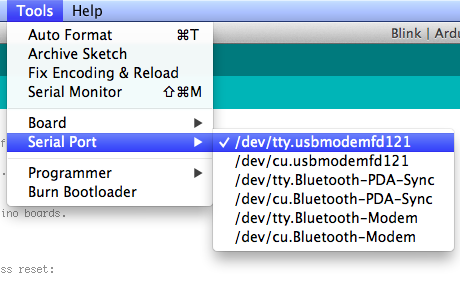
- Select the correct serial port (Tools -> Serial Port)
Running your First Program
- Go to File > Examples > 01.Basic > Blink
- Turns the amber LED on for one second then off for one second.
- You can make sure the board is working.
- You can start experimenting with timing.
Anatomy of an Arduino Program
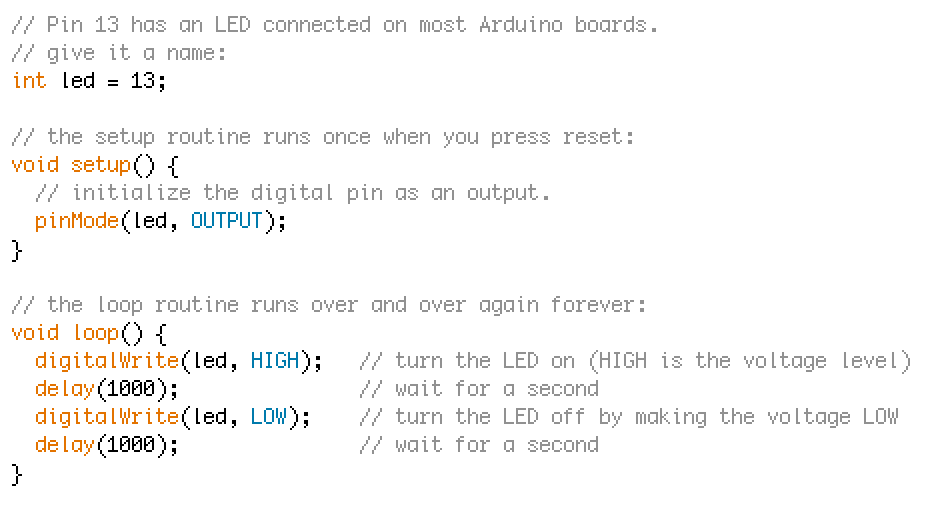
Essentials
- Define global variables and constants at the top
- The Setup function is for initializing pins and devices
- The Loop function runs over and over as fast as it can
- Put a delay at the end to slow it down.
I/O Layout

That Was Fun, What Now?
- Start Playing around!
Adafruit Learning System
Buy Some Shields!
- Self-Contained, Stackable "Features"
- Easy to Use
- They can be expensive!
Ethernet Shield
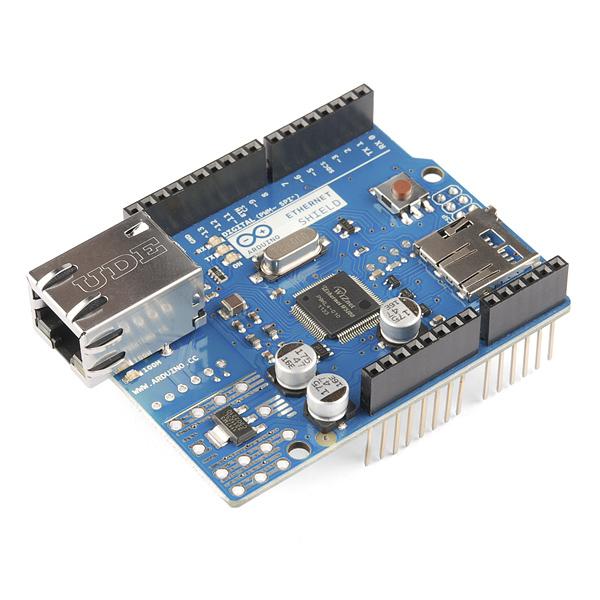
$46
Photo by Sparkfun Electronics
Wi-Fi Shield
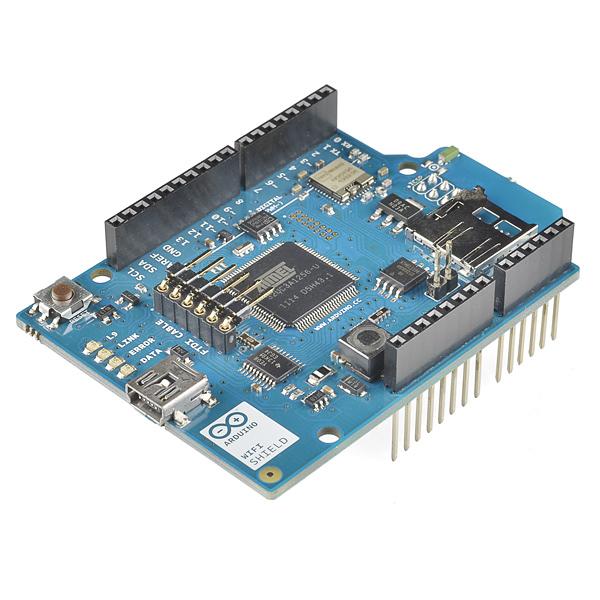
$85
Photo by Sparkfun Electronics
Cellular
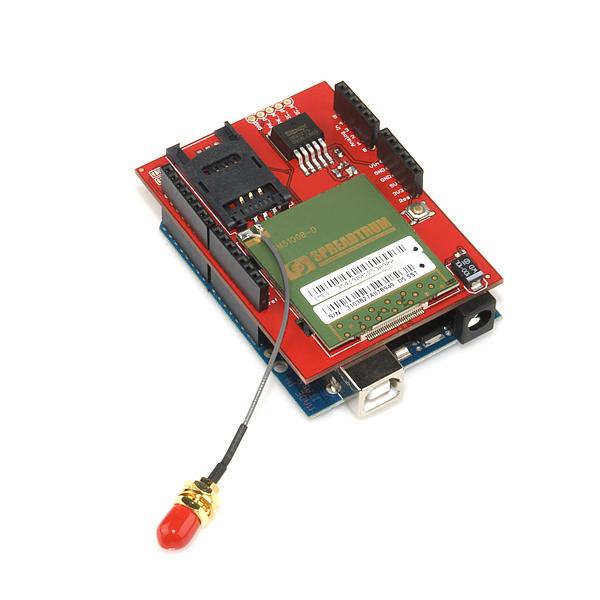
$100
Photo by Sparkfun Electronics
LCD Screen Shield
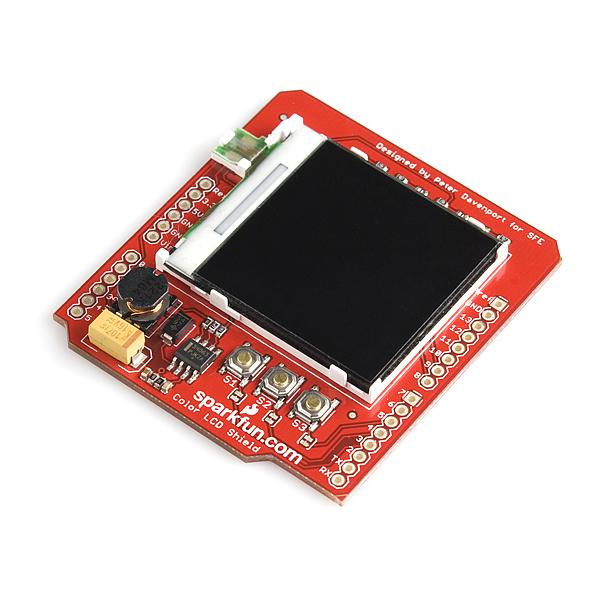
$30
Photo by Sparkfun Electronics
Motor Shield
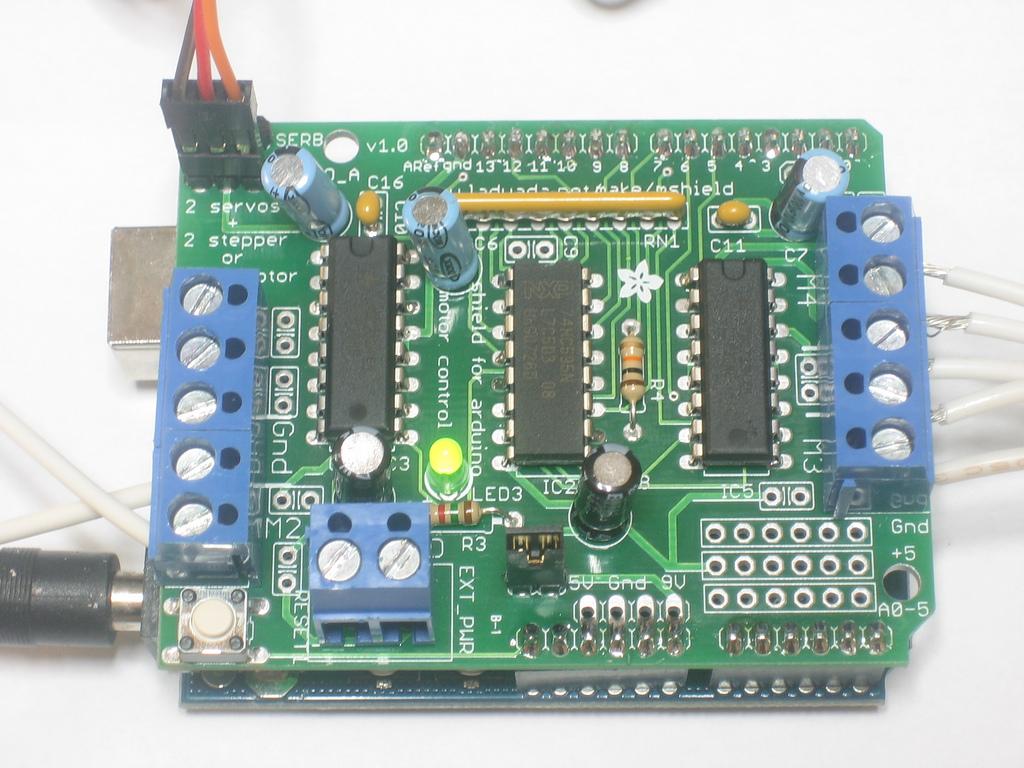
$20
Photo by Adafruit Industries
Questions?
Getting Started with Arduino
By Jacob Bates
